AccuScan™ Circular Geometry Inspection Software
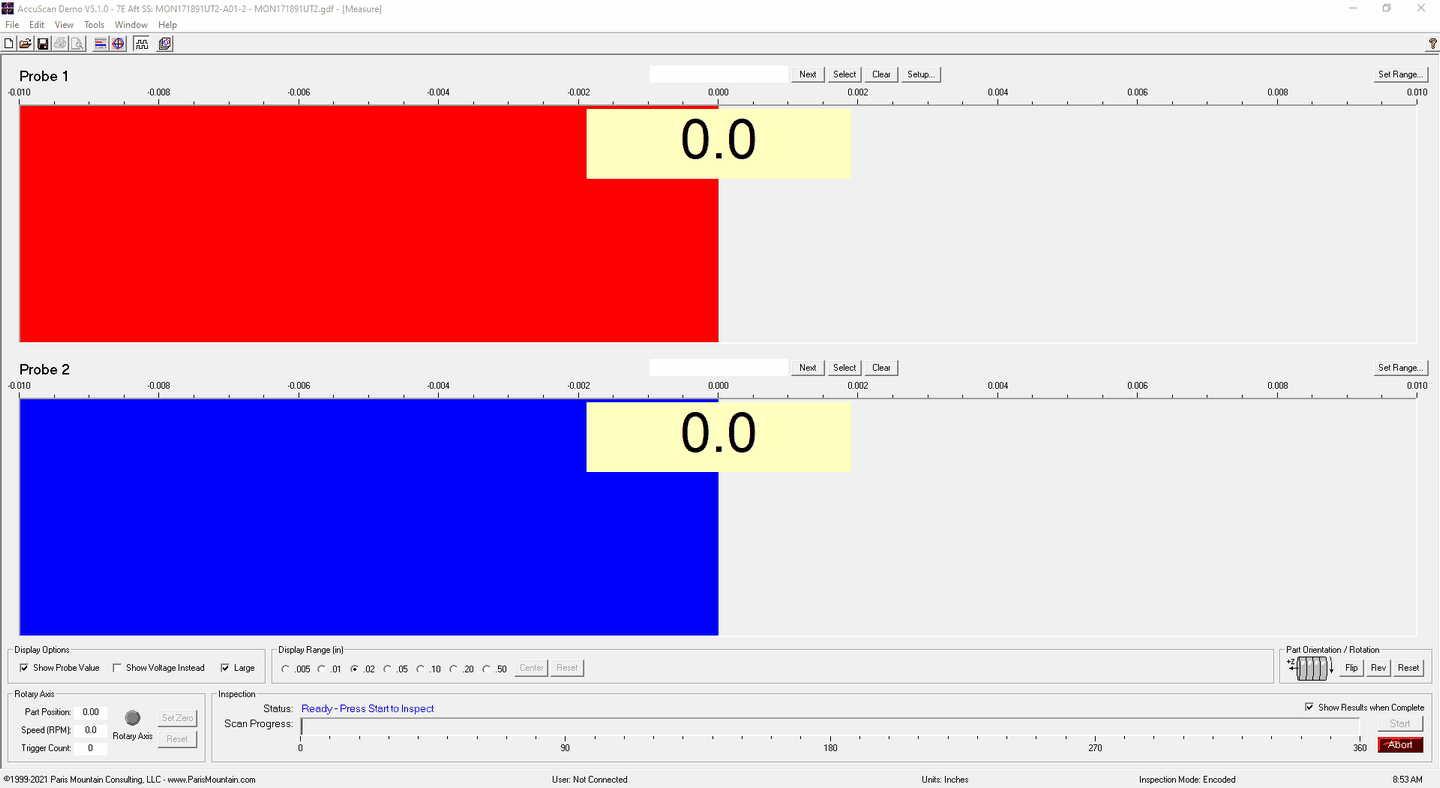
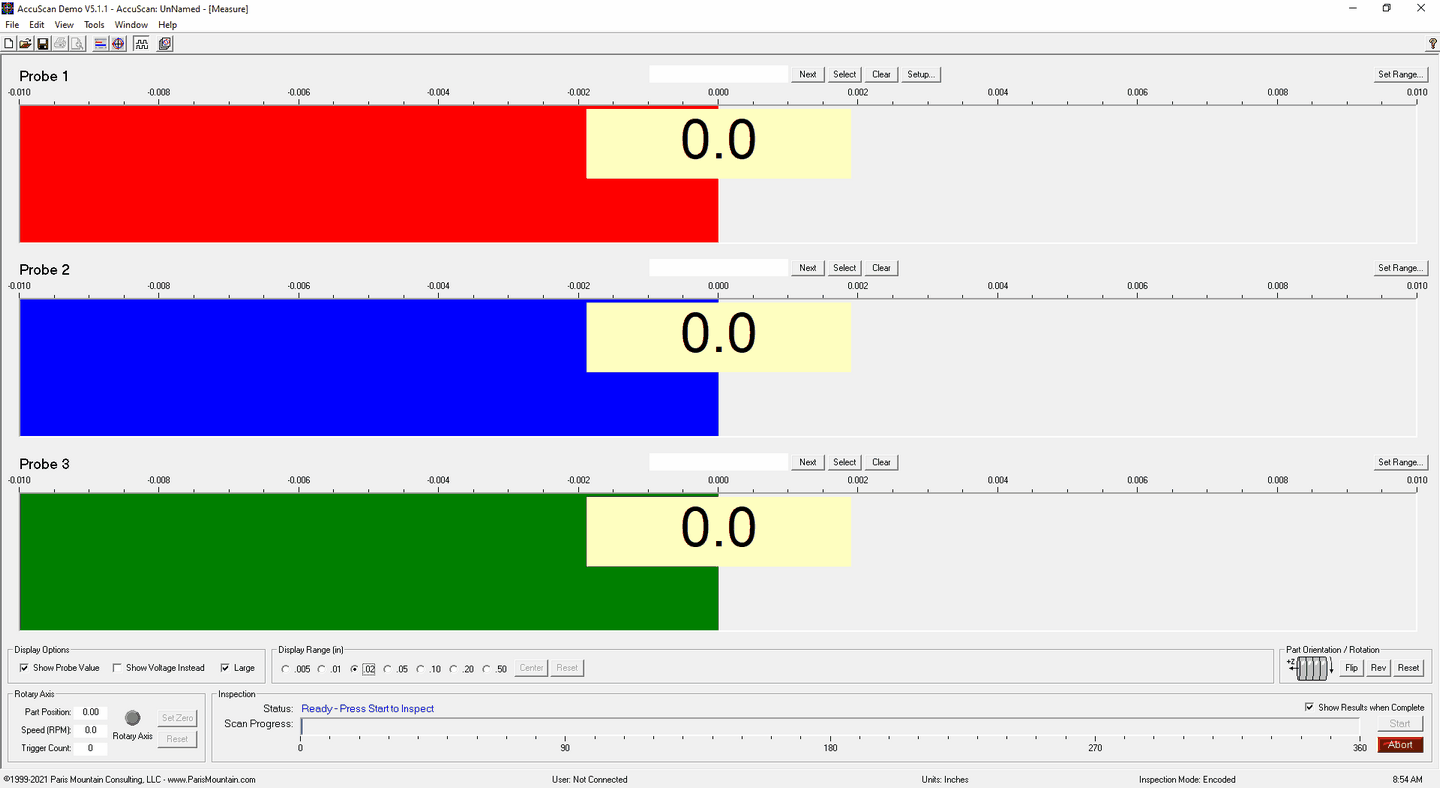
Measure
Inspect an unlimited number of Surfaces Create your own Inspection Templates Flag Out of Tolerance measurements English or Metric Units 3-Probe
4, 6 and 8-Probe versions also available
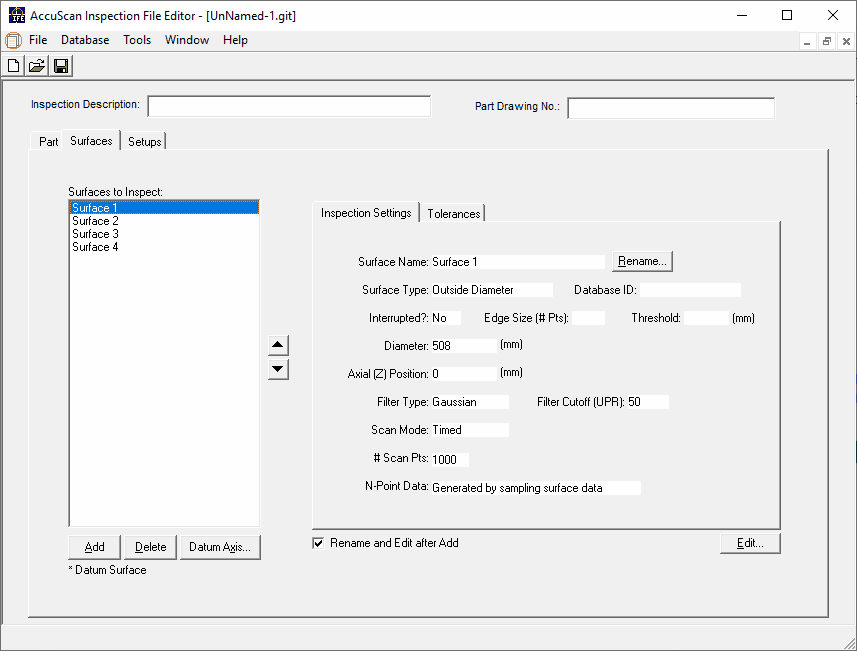
AccuScan IFE
Use AccuScan Inspection File Editor to create reusable Inspection Templates. Program in English or Metric units, add tolerances, and more.
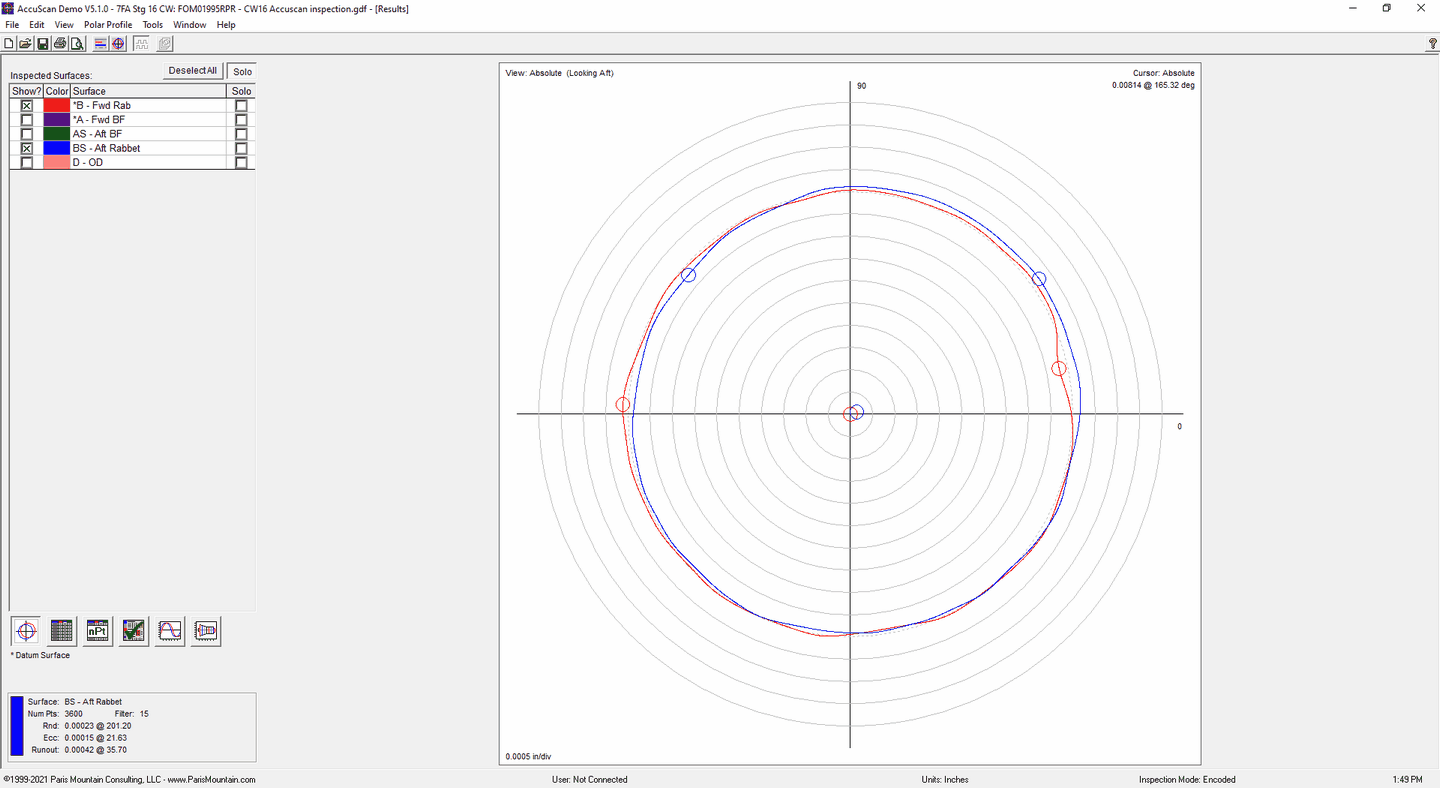
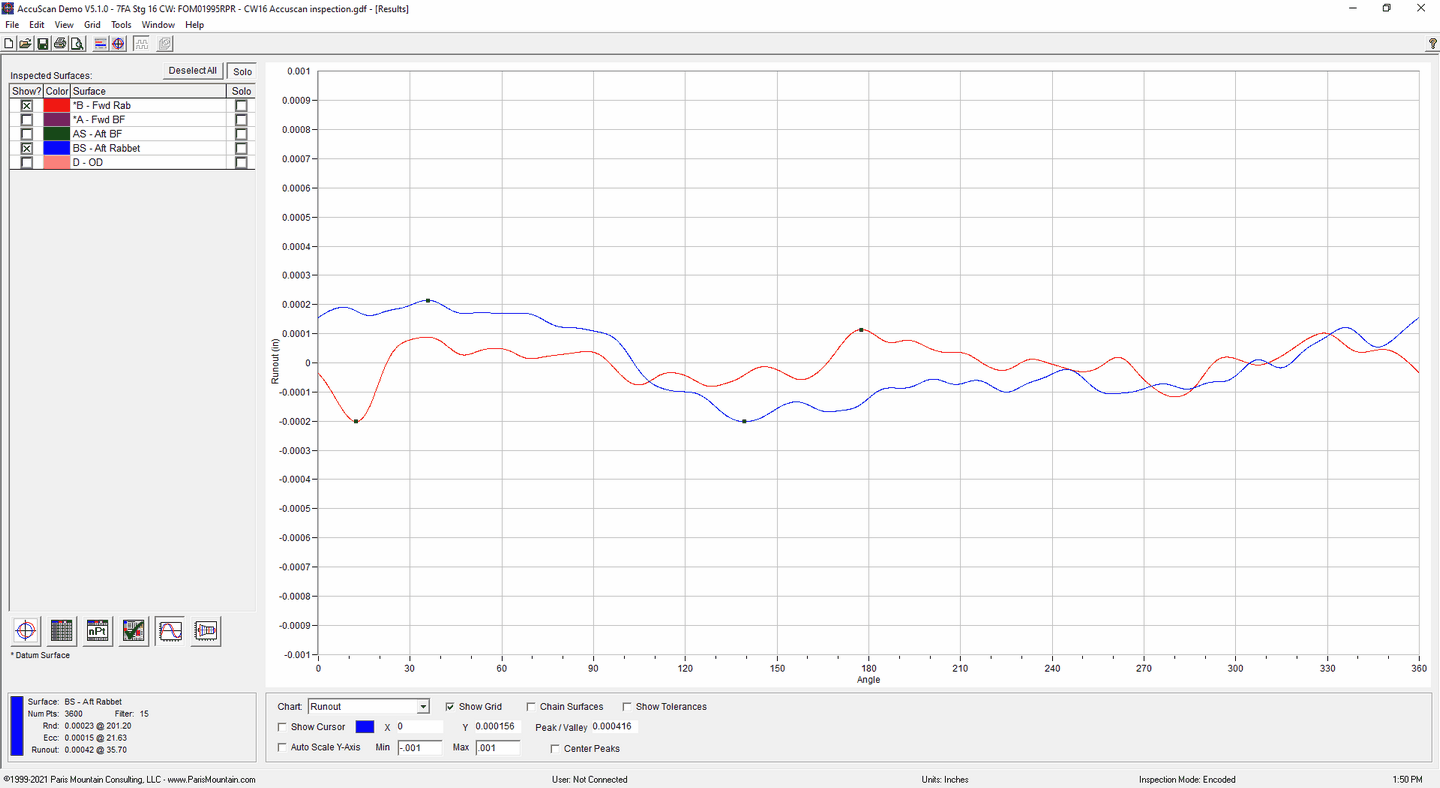
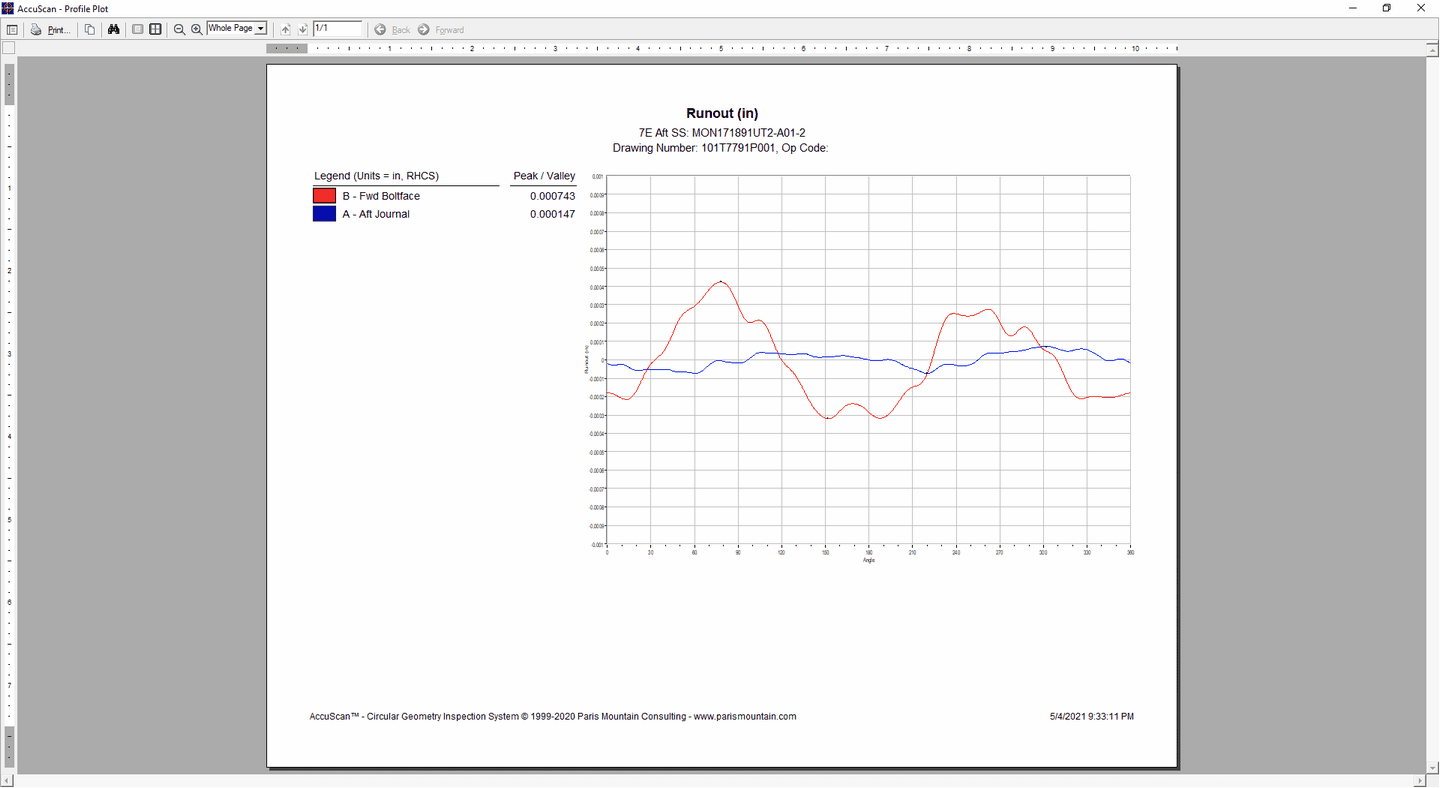
Polar View
Display any number of surfaces simultaneously. Keypoint markers show high/low runout locations.
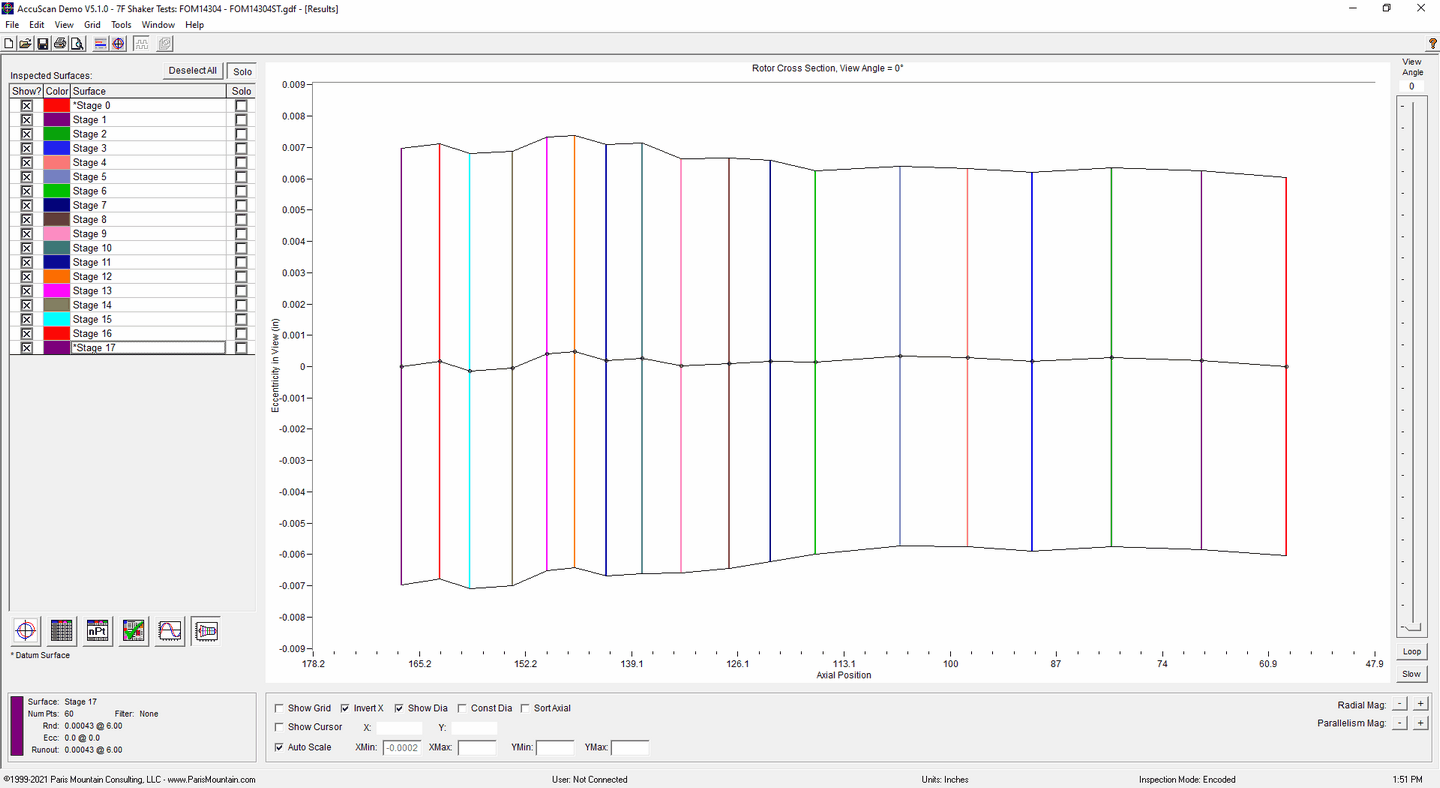
Rotor XSection View
Visualize the shape of your rotor as it turns
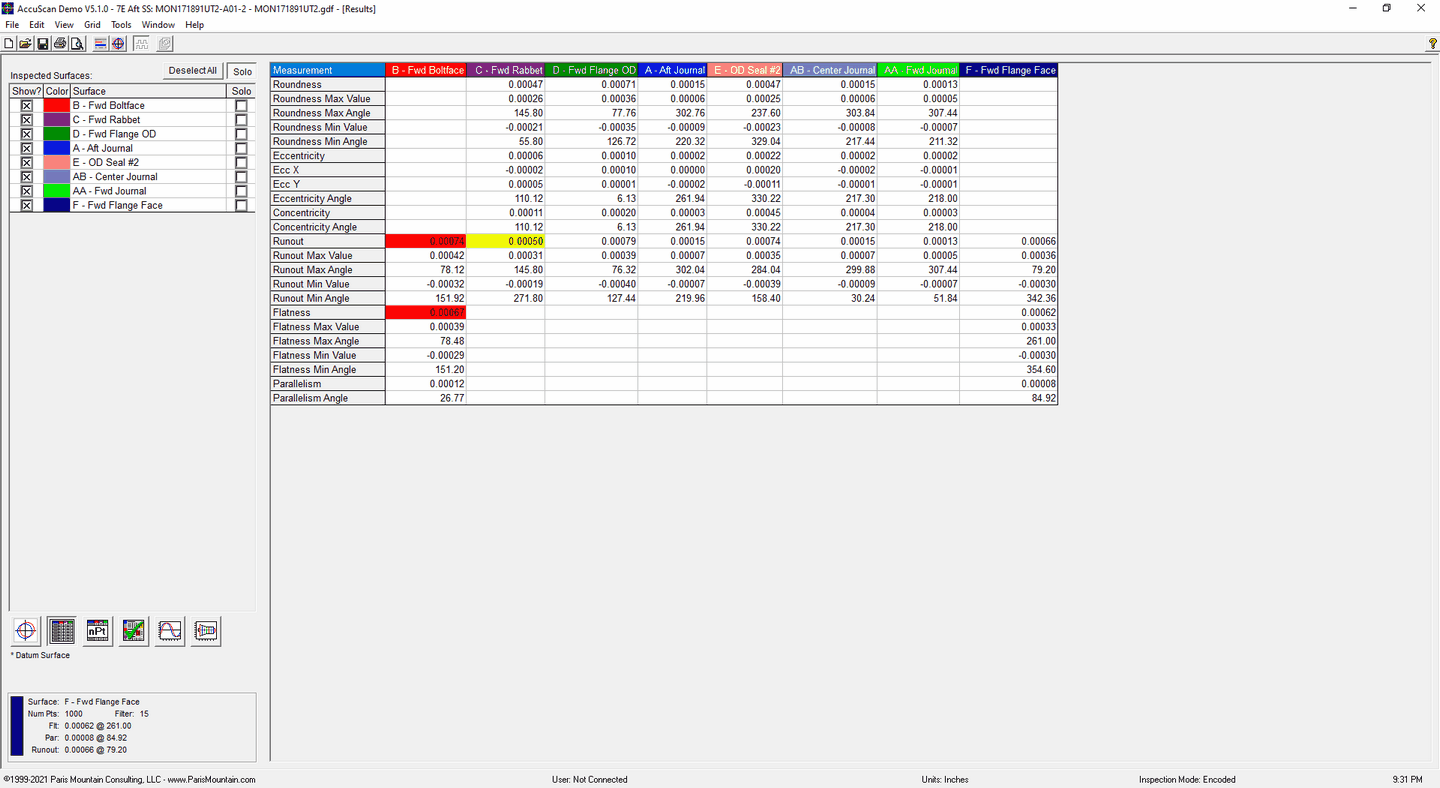
Calculated Results
With out-of-tolerance highlighting
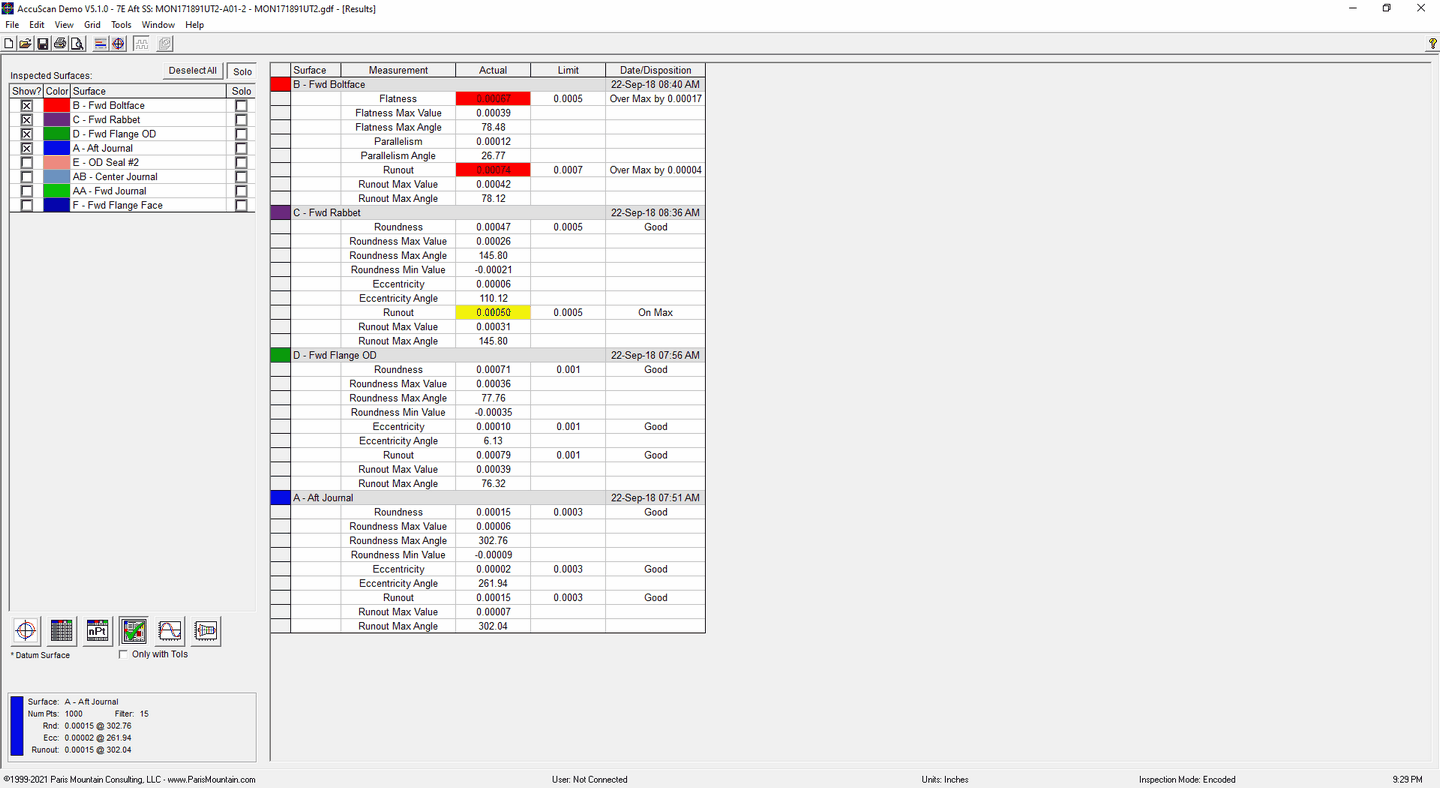
Insp Report View
With out-of-tolerance highlighting
Connectivity
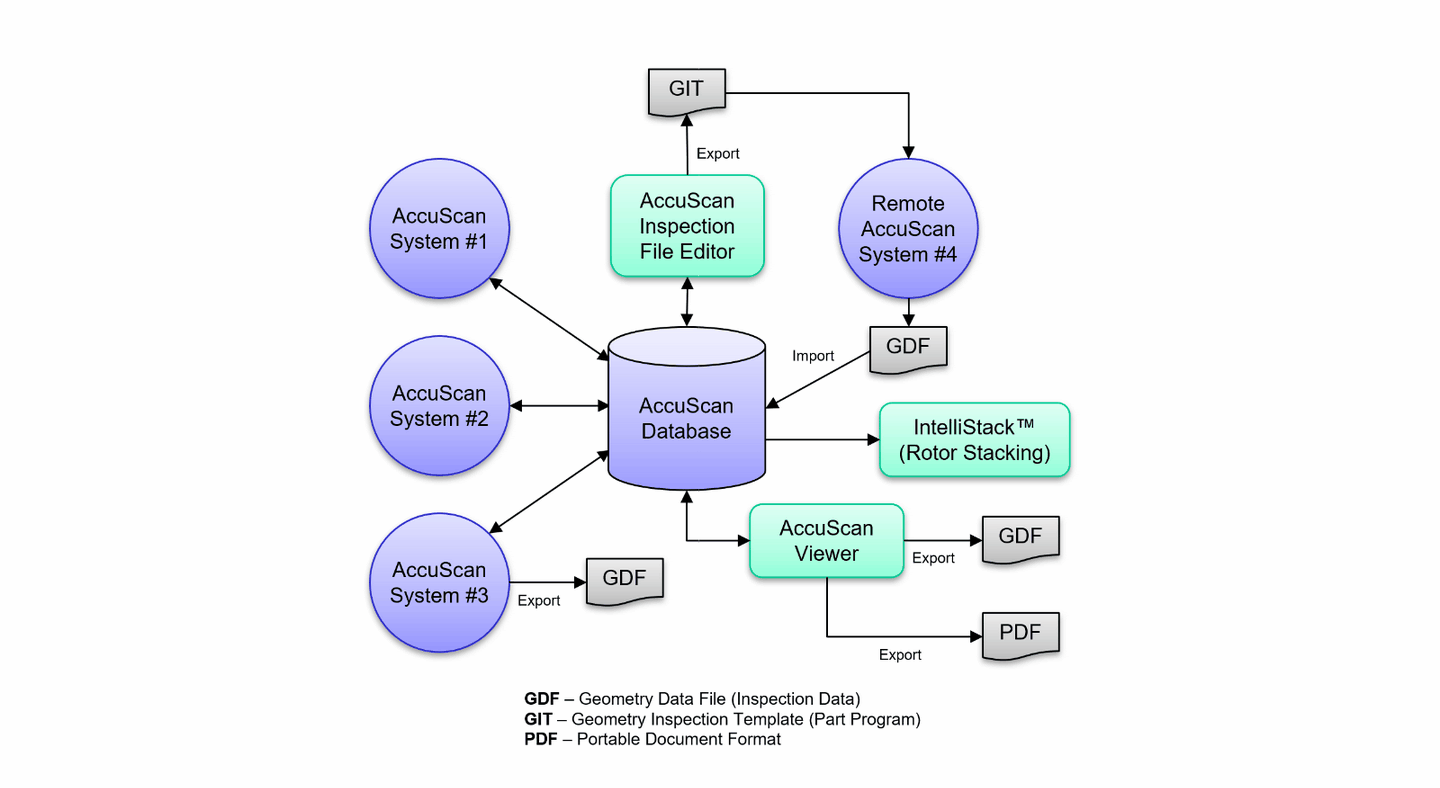
Connect multiple systems together and view inspection results from your desktop.
AccuScan is used by the world's leading rotating equipment manufacturers, including GE, Siemens, ABB, Rolls-Royce, Mitusubishi, Toshiba and others.
AccuScan software components:
AccuScan - for measuring circular geometry including
Runout
Roundness
Eccentricity / Concentricity
Circular Flatness
Parallelism
AccuScan IFE (the Inspection File Editor) - for creating reusable Inspection Templates.
AccuScan Viewer - a free application for viewing and analyzing data, and for generating inspection reports.AccuScan Database - an optional centralized storage component for networking AccuScan systems and users.
See the full list of AccuScan features .


